Encasement beams are used to enclose existing steel beams and posts to give the appearance of a solid timber beam. I am currently in the process of installing a 3.5 metre long three-sided encasement beam which was fabricated from 20mm thick solid oak planks.

Existing steel ridge beam to be encased
Having checked that the existing suspended ceiling was purely aesthetic and was not providing any structural support to the roof, this was then removed to make way for a vaulted ceiling. The oak encasement beam will hopefully become an eye-catching feature in the room. The existing steel beam was 178mm deep by 102mm high. I ordered three 20mm thick oak planks 3.8 metres long, two at 200mm wide for the sides and one 150mm wide for the underneath. This was quite tight tolerance for the underneath plank, once the 102mm width of steel beam was added to the two 20mm mitred corners this only left 8mm tolerance. In hindsight, adding another 5 or 10mm may have been sensible, however on this occasion it worked out fine.

Order some extra length to account for split ends

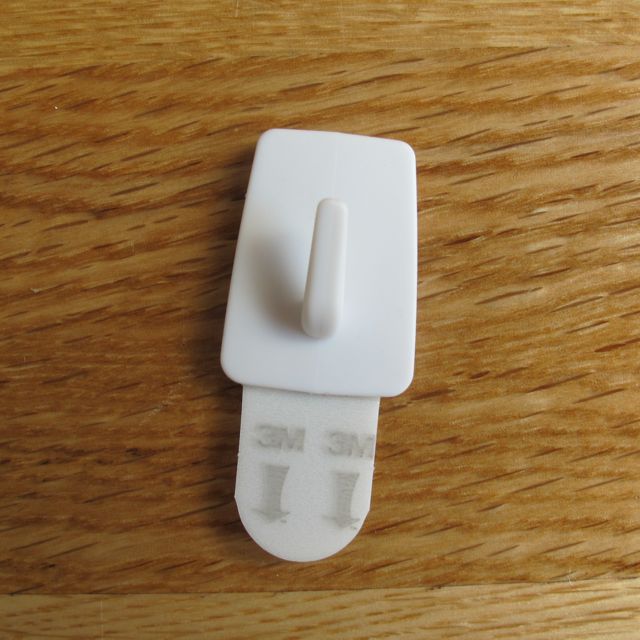
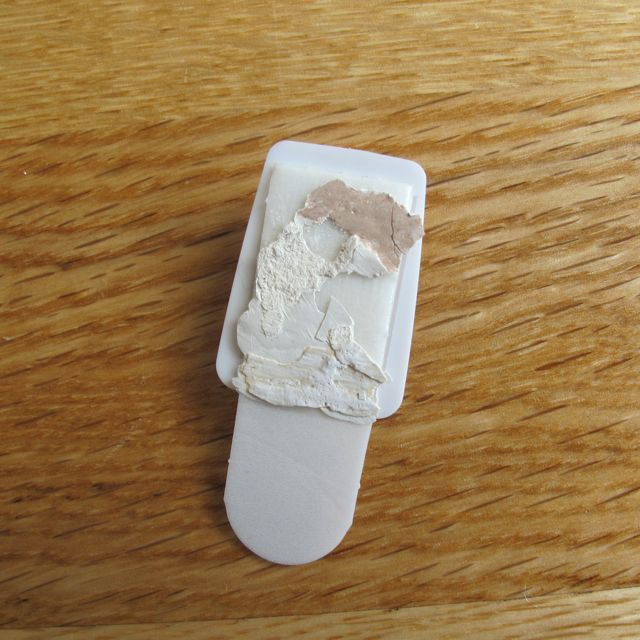
And also to fabricate a test box
In reality, a good timber supplier should add a little bit extra length to your order to allow for split ends / ends out of square / etc. And you may also decide to make a test box out of some cheaper material. However, ordering some extra is always wise.
I decided to form the mitred corners using a mitre-lock cutter on my router table. This is a great link for correctly setting up the cutter.
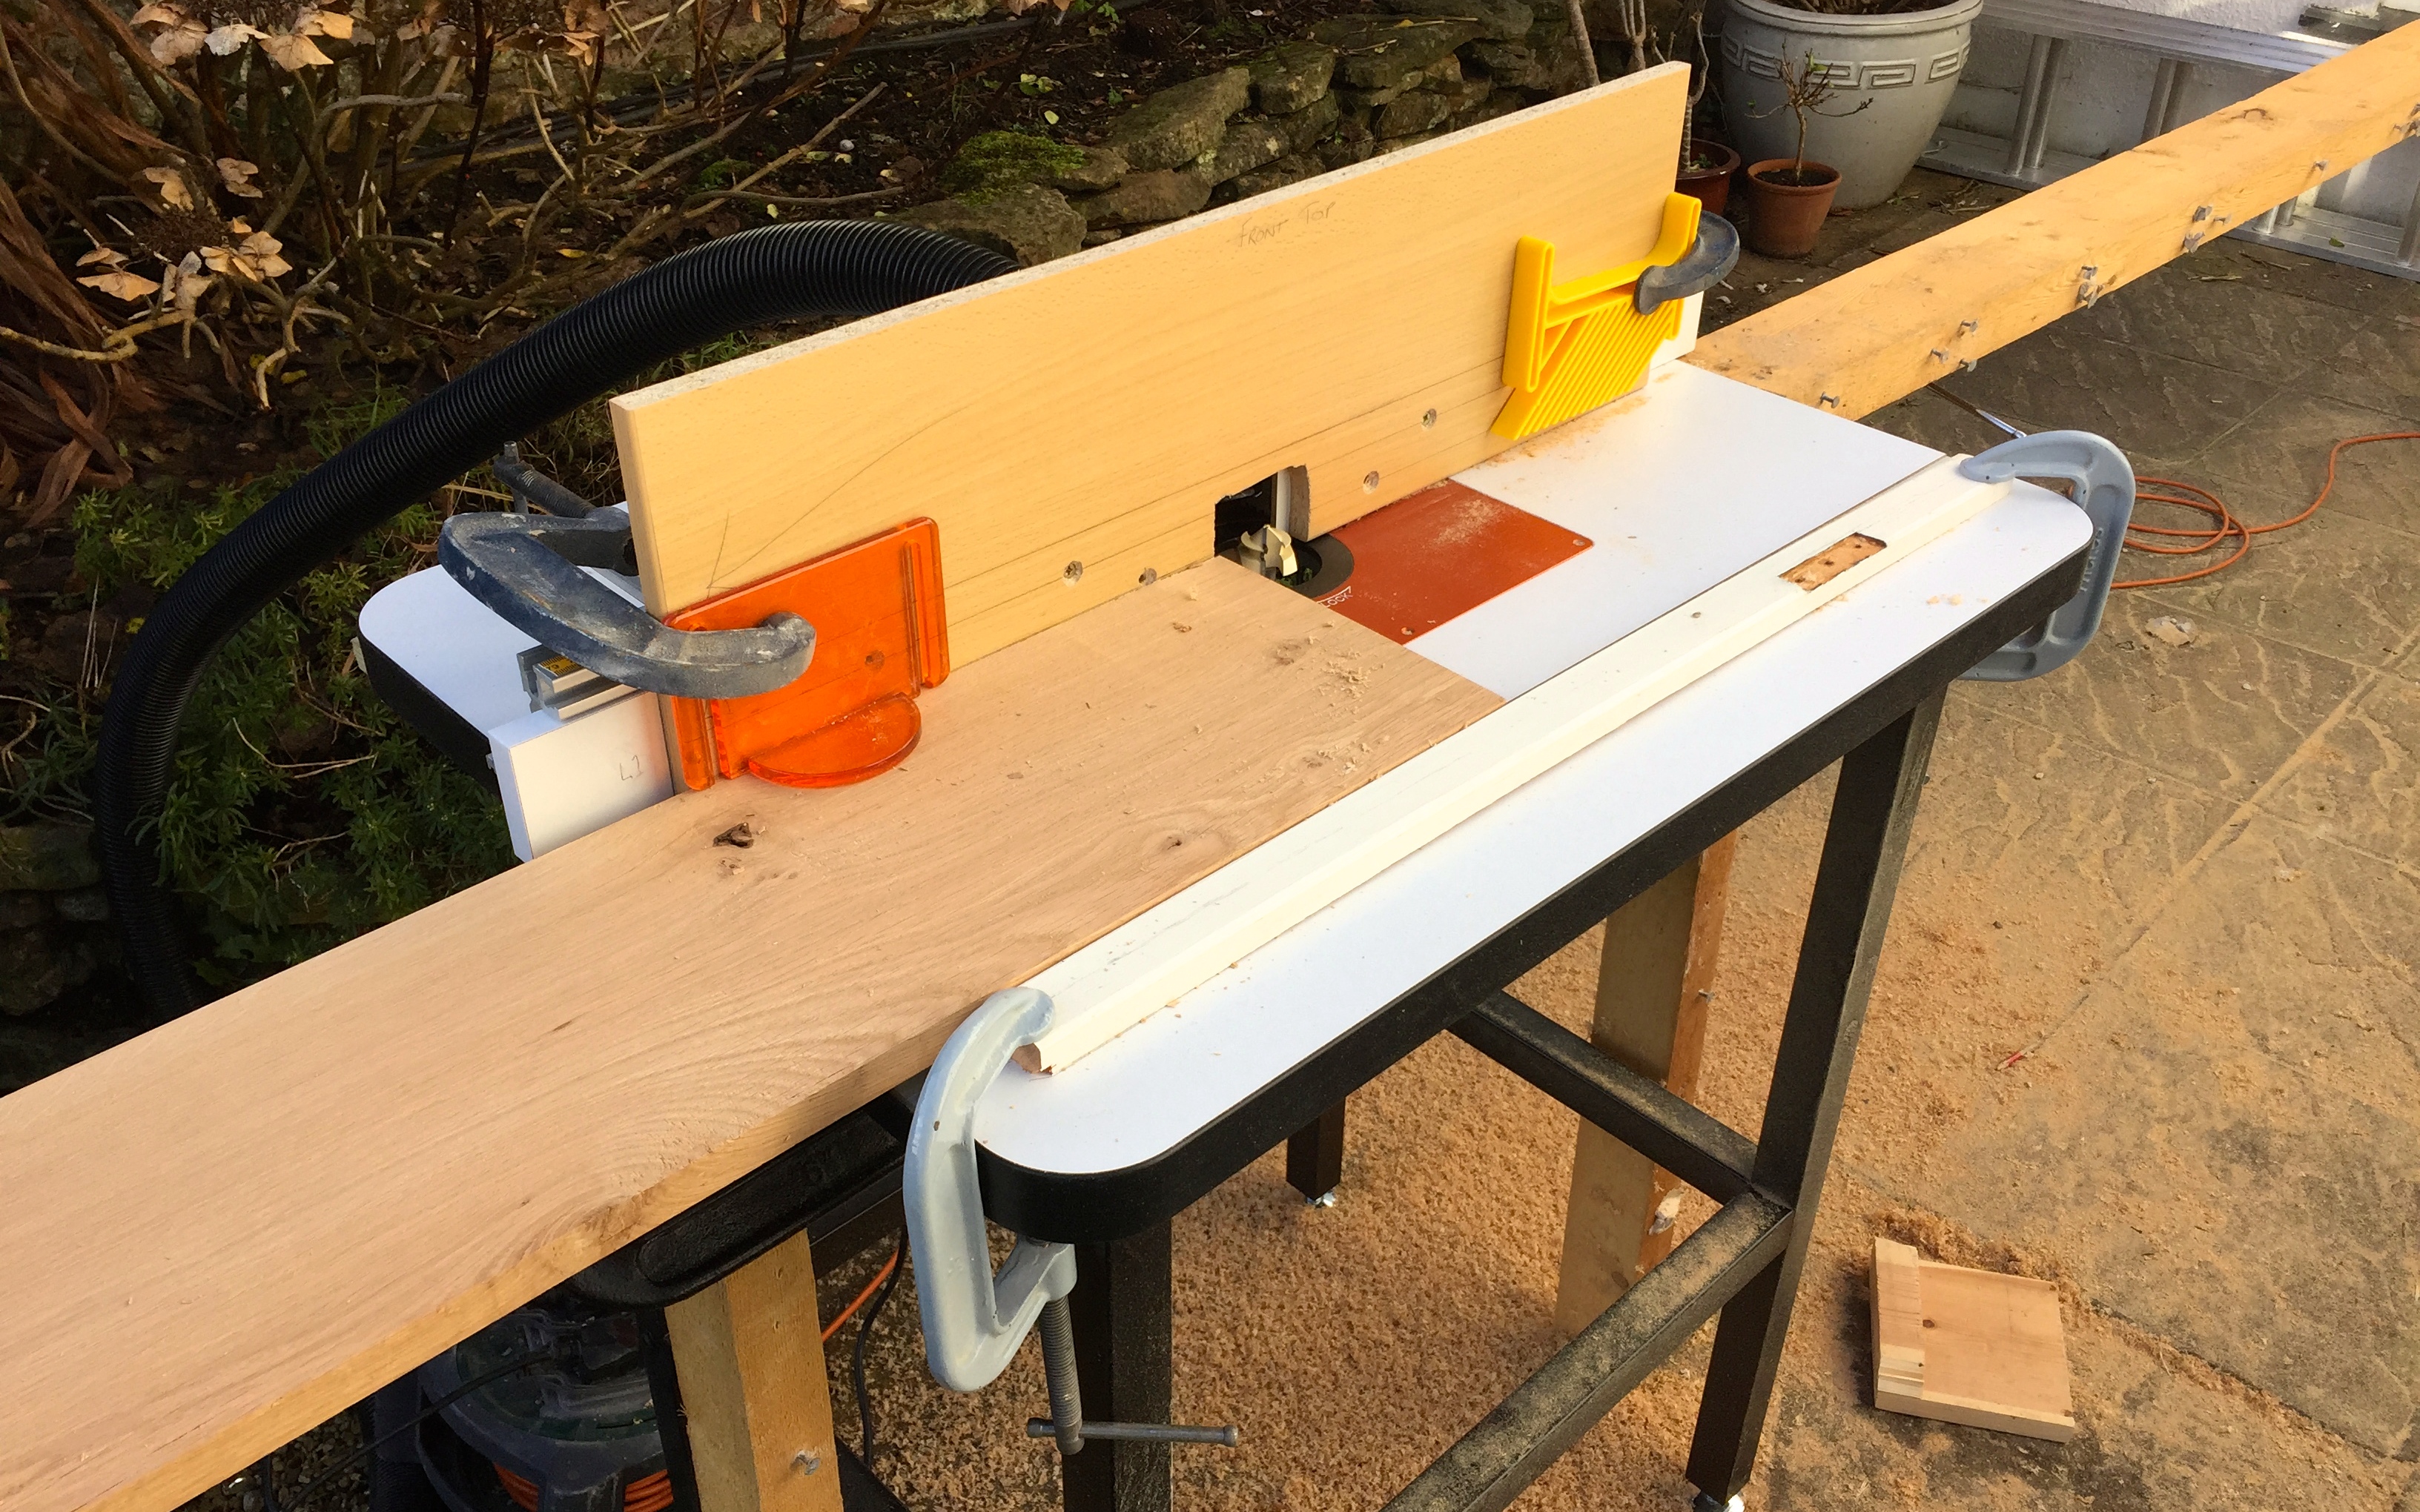
A big challenge for lone working is stability and accuracy in passing such long lengths of timber through the router table. You need the full length of the board before and after the table, plus the length of the table. In this case that required a workbench of over 8 metres. I decided to set up a rudimentary workbench outside using DIY trestles, posts and a few G-clamps to lock it all together securely.

Outdoor fabrication yard
My router table has a relatively low backboard so I introduced an additional taller backboard and then set up guides using timber offcuts and more clamps. This allowed me to feed the timber through from various locations. I decided to feed the underneath plank through vertically.

Routering the underneath plank on both edges
You will inevitably have a certain amount of warping with the planks. The hope is that a mitre-lock cutter will assist in locking and clamping the boards together into a square box.

Warped board
I fed the side walls of the encasement beam through horizontally as these were the wider boards and would have been more unstable in a vertical position.
Guided setup for horizontal boards
The individual planks were then brought back into the workspace and formed into a three-sided beam. Normally I would put joinery pieces together with dry joints to check before gluing. But it can be quite difficult to take a mitre-lock joints apart without damaging them so in this case I decided not to check before gluing. This was the benefit of having made the test box first.
Provided the timber has been fed through the router square and true, the mitre-lock cutter does a fantastic job of giving you perfect 90 degree corners but I still added a few spacers along the top of the beam before clamping it up.

MDF spacers along the ‘missing’ 4th side of the beam
Once the joints had set I set to work on finishing the beam. To give the appearance of a solid beam, I rounded the corners with a hand plane. The beauty of using solid oak and mitred corners is that you can take off as much as you like. For a rustic look it could even be an option to vary the amount removed along its length – traditional solid timber beams would not have been completely straight and square and so it may be desirable to give the encasement beam an uneven look.

Rounded corners

The planks were a good match in colour and grain – even at close inspection the beam looks solid
Timber noggins were installed in the web of the steel beam and the encasement beam was pre-drilled for fixing to the noggins using screws. I drilled a 4mm pilot hole for the screws and then a 13mm hole half the depth of the plank so that the screws can be concealed beneath oak pellets which I cut myself from an off cut. This site explains ‘plug cutting and screwdigging’.
There will be three pendant lights hung from the beam so holes for these were also predrilled using a 10mm bit which is ample for a lighting cable. The intention will be to stain and wax polish the finished beam. However this will be carried out ‘in-situ’ once the screw holes have been plugged.

Oak beam encasement fabrication complete and ready for installation
The next step is installation. Although the total weight of the beam is only about 20kg, it is unwieldy and requires two people to install it safely. So I called my Dad who kindly offered to come and provide some extra muscle to get it in place. I’m looking forward to getting it installed.